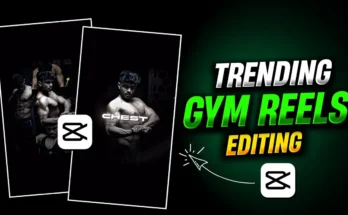
Instagram Reels are one of the most powerful ways to go viral on social media. If you’ve ever wondered how creators make those stylish, trending Reels with smooth slow-motion, creative effects, and professional color grading—this guide is for you. In this tutorial, we’ll show you how to edit Instagram Reels step-by-step using the InShot App, available on Google Play Store and App Store.
Step 1: Install and Open the InShot App
First, download and install the InShot Video Editor app if you don’t already have it. Open the app and tap on New Project. Select the video clip you want to edit from your gallery. If your clip is buried deep in folders, simply navigate to the correct folder and choose your video.
Step 2: Add Music to Your Reel
Music is the backbone of every viral Instagram Reel. To add music:
- Tap on the Audio option.
- Select My Music to browse the songs on your device.
- Choose your preferred track and tap Use.
Your video will now sync with the selected song, making it ready for rhythmic edits. You can also explore trending sounds from TikTok Music to find viral tracks.
Step 3: Trim and Clean Up Your Video
If your video has unnecessary or awkward parts, trim them out. Simply:
- Tap on your video clip.
- Use the Split option at the point you want to cut.
- Delete the unwanted portion.
Step 4: Apply Slow Motion
Slow motion is one of the most effective ways to make your Reel look cinematic. Here’s how:
- Select your video clip and tap on Speed.
- Go to the Curve option.
- Add Beats at points where you want to slow down.
- Drag the beat markers downward to slow the video.
Finally, click on Smooth to ensure your slow-motion effect plays seamlessly.
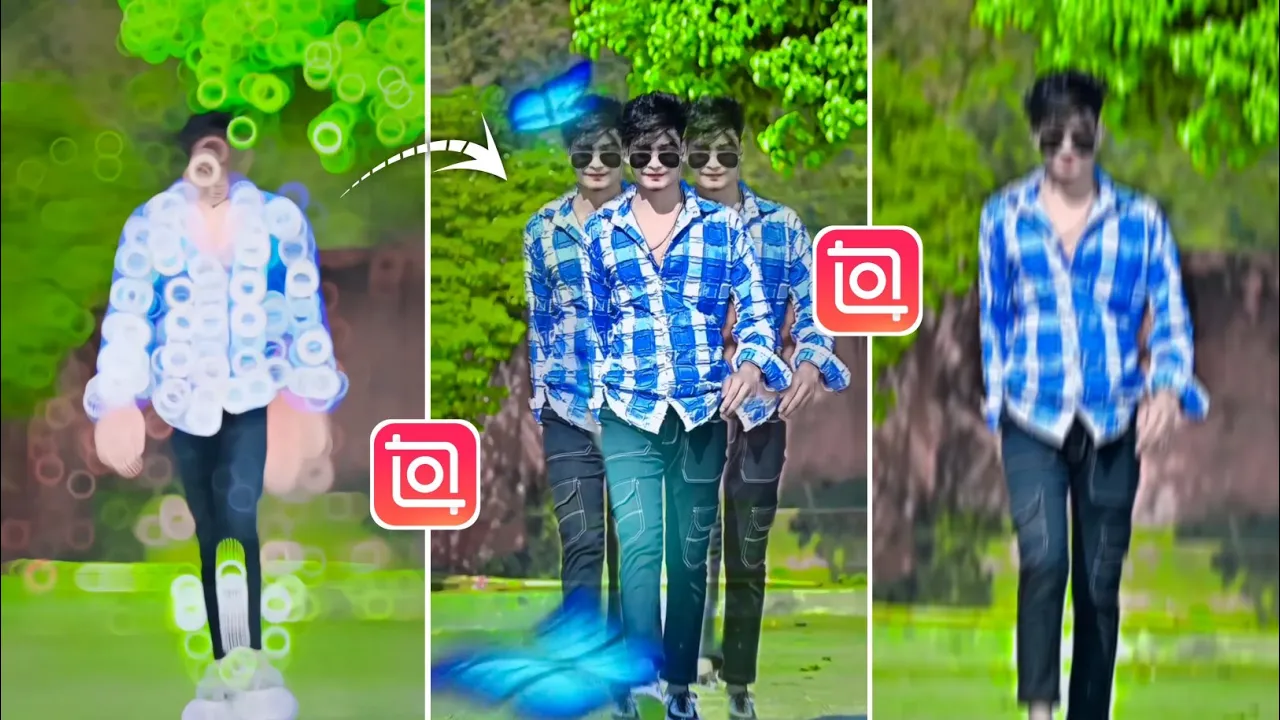
Step 5: Add Effects and AI Enhancements
InShot offers a variety of effects that can take your video to the next level:
- Blur Effects – Circle, Diamond, or Heart-shaped blur for dramatic openings.
- AI Effects – Lightning, Fire, Cloning, or Split effects for unique visuals.
- Shake & Flash Effects – Perfect for energetic transitions in beat drops.
You can also add multiple effects throughout the video by splitting clips and applying different transitions like Zoom, Shake, and Flip. For more inspiration, check trending edits on Instagram Reels Explore.
Step 6: Color Grading for a Professional Look
No edit is complete without proper color grading. In InShot, you can adjust:
- Light & Contrast – Brighten or darken your video.
- Temperature – Add warm or cool tones.
- Tint & Saturation – Enhance or reduce color intensity.
- HSL – Edit individual colors for creative effects.
For example, increasing luminance on the face area can give a brighter, more polished look. Adding slight blue tones can also give your video a modern cinematic vibe. Learn more about color grading in video editing.
Step 7: Export and Share
Once your editing is complete:
- Tap Export in the top-right corner.
- Select your desired resolution (1080p or higher is recommended).
- Save it to your device and upload to Instagram.
Make sure to add trending hashtags and engaging captions when posting your Reel to maximize reach. Check out popular Instagram hashtags for better discoverability.
Final Thoughts
Editing Instagram Reels doesn’t have to be complicated. With the InShot App, you can easily add music, slow motion, special effects, and professional color grading to make your videos look viral-ready. The more you practice, the better your edits will become—and who knows, your next Reel might just blow up on Instagram!
If you’re serious about growing on Instagram, also consider learning about Instagram Reels growth strategies to boost your visibility.