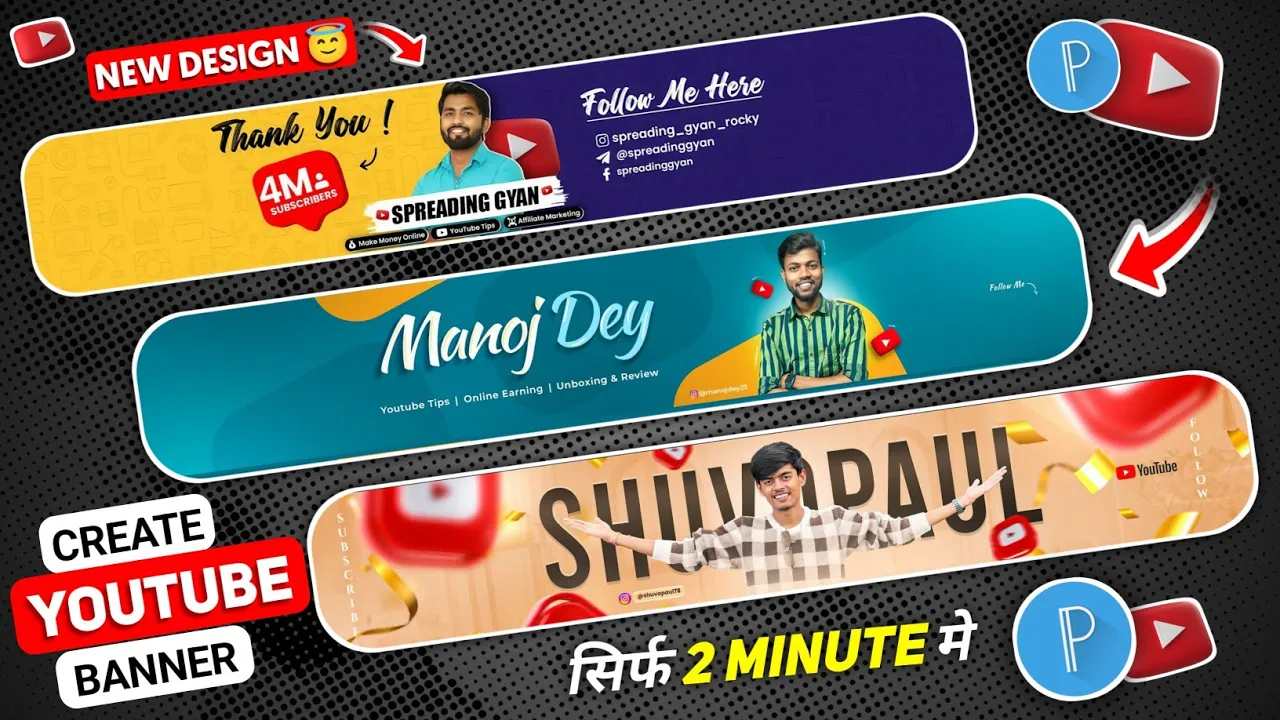
Are you looking to make your YouTube channel stand out with a professional banner — but without using a PC? In this guide, you’ll learn how to design a stunning, high-quality YouTube banner using only your mobile phone and the PixelLab app. I’ll walk you through the entire process step-by-step, including a shortcut trick that will save you hours of work. No expensive software, no complicated tools — just creativity and the right technique!
Step 1: Install PixelLab App
First, download and install the PixelLab application from the Google Play Store. Once installed, open the app — you’ll see a simple, user-friendly interface.
Step 2: Set the Canvas Size for YouTube Banner
- Tap the three dots menu in the top-right corner.
- Go to Image Size and select the YouTube Channel Banner preset.
- This ensures your banner has the correct dimensions (2560 x 1440 pixels) for YouTube.
Delete the default text layer to start with a clean canvas.
Step 3: Add Your Background Image
- Tap the third icon in the toolbar.
- Select Import and choose your background image. (You can download free, high-quality banner backgrounds from the Unsplash YouTube Banner Collection.)
- Use the Relative Size option to fill the entire canvas.
- If your background has a white area you want removed, use Erase Color and select the white color to make it transparent.
Step 4: Lock the Safe Area
In YouTube’s design, the central “safe area” is what’s visible on mobile devices. Elements outside this safe zone appear only on TVs and larger screens. Lock this guide layer in PixelLab so you can design within the correct visible area.
Step 5: Add Decorative Design Elements
- Go to Import again and choose from high-quality design templates.
- You can find hundreds of free YouTube banner design templates on Canva and Pinterest.
- Resize your chosen design to fill the background and send it behind other layers using the “To Back” option.
Step 6: Add Your Logo or Personal Image
- Import your logo or photo and position it within the safe zone.
- Use the Shadow option to add depth, or apply an outline effect by reducing blur and selecting a border color.
Step 7: Add Your Channel Name
- Tap the A icon → Add Text → Enter your channel name.
- Choose a stylish font (PixelLab has many, but you can also add your own from DaFont).
- Change the text color and add a shadow for better visibility.
- Example: White text for the main name and a contrasting color for a tagline like “For You” or “Daily Editing Tutorials.”
Step 8: Add a Short Description
Below your channel name, add a short tagline that describes your content. For example:
“Daily Editing Tutorials & AI Updates”
This helps viewers immediately understand what your channel is about.
Step 9: Export Your Banner
- Before exporting, delete the size guide layer so it won’t appear in your final banner.
- Tap the Share icon → Custom → Ultra Quality → Save to Gallery.
Step 10: Upload to YouTube
- Go to your YouTube Studio.
- Click Customize → Branding → Banner Image.
- Upload your new banner and adjust the cropping if needed.
Bonus: Finding Unlimited Banner Designs
If you want even more templates:
- Open Pinterest and search for Professional YouTube Banner.
- Download blank templates and customize them in PixelLab.
- You can also mix and match design elements from multiple sources for a unique look.
Final Thoughts
Creating a professional YouTube banner on your phone is easier than most people think. With PixelLab and the right design resources, you can have a banner that looks like it was made by a professional graphic designer — in less than an hour.
Follow the steps above, and your YouTube channel will instantly look more polished and attractive to new viewers.